
← The polytunnel
H11-02 · Module 2 of 7 · Pages: 19 · Worksheets: 6
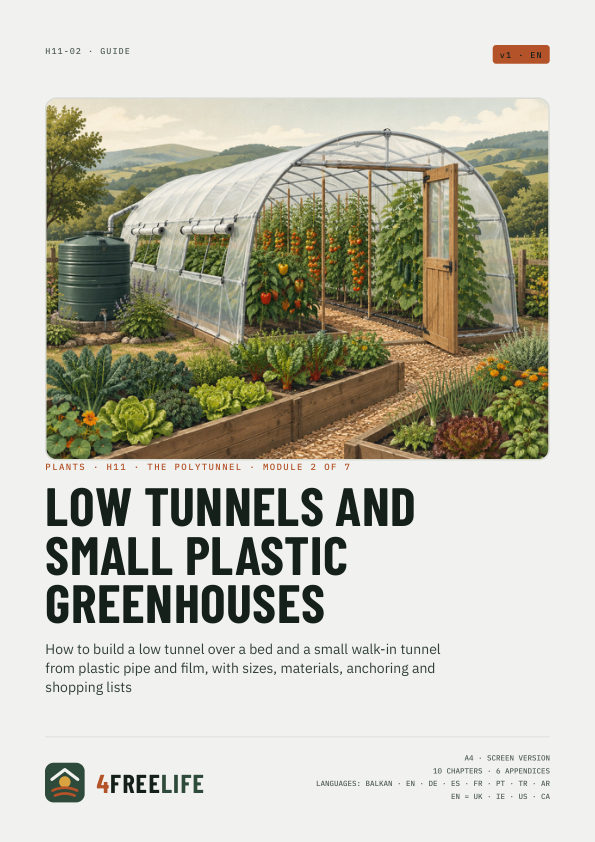
Low tunnels and small plastic greenhouses
How to build a low tunnel over a bed and a small walk-in tunnel from plastic pipe and film, with sizes, materials, anchoring and shopping lists
Secure checkout with Stripe · VAT included · The PDFs are in the language of this page.
Whole series: The polytunnel, €39
In short
- Low tunnel: bed 1–1.2 m wide, hoops 50–60 cm high every 1 m, film buried or weighted down.
- Small 3 × 6 m tunnel: hoops of 32 mm plastic water pipe over steel stakes, 1 m apart, UV film 150–200 µm.
- Open the tunnel as soon as the sun warms it: in March it reaches 35 °C (95 °F) inside within two hours.
- The film must be taut and anchored; loose film in the wind works like a sail.
- In snowy areas, prop a small plastic-pipe tunnel in winter or take the film off.
What's inside
Chapters
- Four small solutions
- Materials: hoops, film and fixings
- Low tunnel step by step
- Fleece: light protection
- A small walk-in tunnel, 3 × 6 m
- Anchoring: wind and snow
- Using it through the season
- Film after the season
- Most common mistakes
- Printable checklist
Worksheets
- Shopping list for low tunnels
- Shopping list for a 3 × 6 m tunnel
- Film and hoop calculator
- Tunnel log
- Tunnel calendar
- Sketch of beds and tunnels
Fields and checkboxes can be filled in with Adobe Acrobat Reader (desktop and mobile), and the calculator adds up by itself. Filling in may not work in some browsers. A print version comes with the screen PDF.
This guide in other languages: