
← The polytunnel
H11-03 · Module 3 of 7 · Pages: 20 · Worksheets: 6
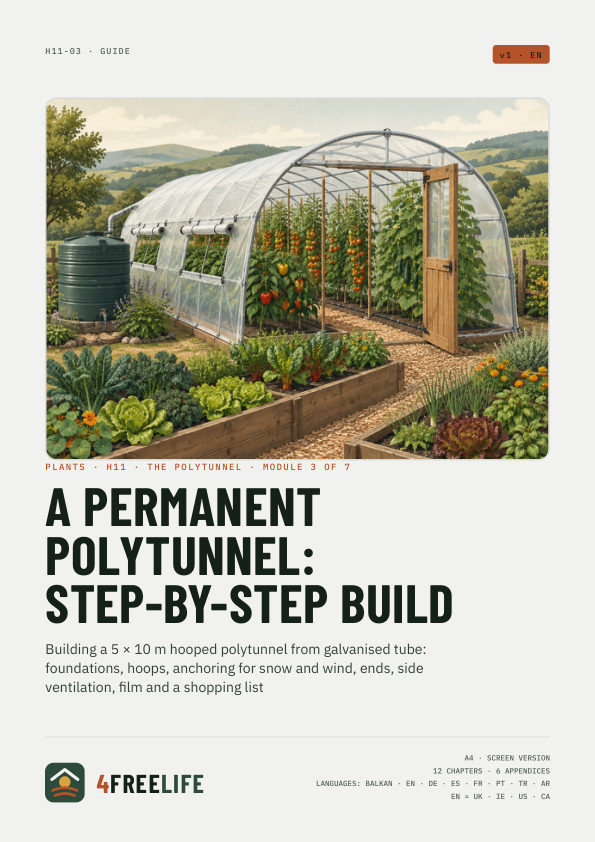
A permanent polytunnel: step-by-step build
Building a 5 × 10 m hooped polytunnel from galvanised tube: foundations, hoops, anchoring for snow and wind, ends, side ventilation, film and a shopping list
€9
Secure checkout with Stripe · VAT included · The PDFs are in the language of this page.
Whole series: The polytunnel, €39
In short
- Hoops of 32 mm galvanised tube, spaced 1.25 m in the lowlands, 1.0 m where there is a lot of snow.
- Every hoop stands in a 42 mm foundation tube set in a concrete footing below frost depth.
- Braces at all four corners and a ridge bar stop the tunnel leaning in the wind.
- The film goes on on a warm, still day, with four people, anti-drip side inwards.
- Wet snow on 50 m² can weigh 5–6 tonnes: knock it off, and in snowy areas prop the ridge in winter.
What's inside
Chapters
- The project on one sheet
- Snow and wind: how a tunnel stays in one piece
- Setting out and preparing the ground
- Foundations and anchors
- Hoops and rails
- Ends, doors and top vent
- Side ventilation
- Fitting the film
- Inside: beds, paths and water
- A timber greenhouse with polycarbonate
- Most common mistakes
- Printable checklist
Worksheets
- Shopping list for a 5 × 10 m tunnel
- Material calculator
- Cost calculator
- Build plan
- Tunnel sketch
- Build and maintenance log
Fields and checkboxes can be filled in with Adobe Acrobat Reader (desktop and mobile), and the calculator adds up by itself. Filling in may not work in some browsers. A print version comes with the screen PDF.
This guide in other languages: